RV Trailer Maintenance Checklist for Long-Term Storage and Reactivation
admin
February 3rd, 2026
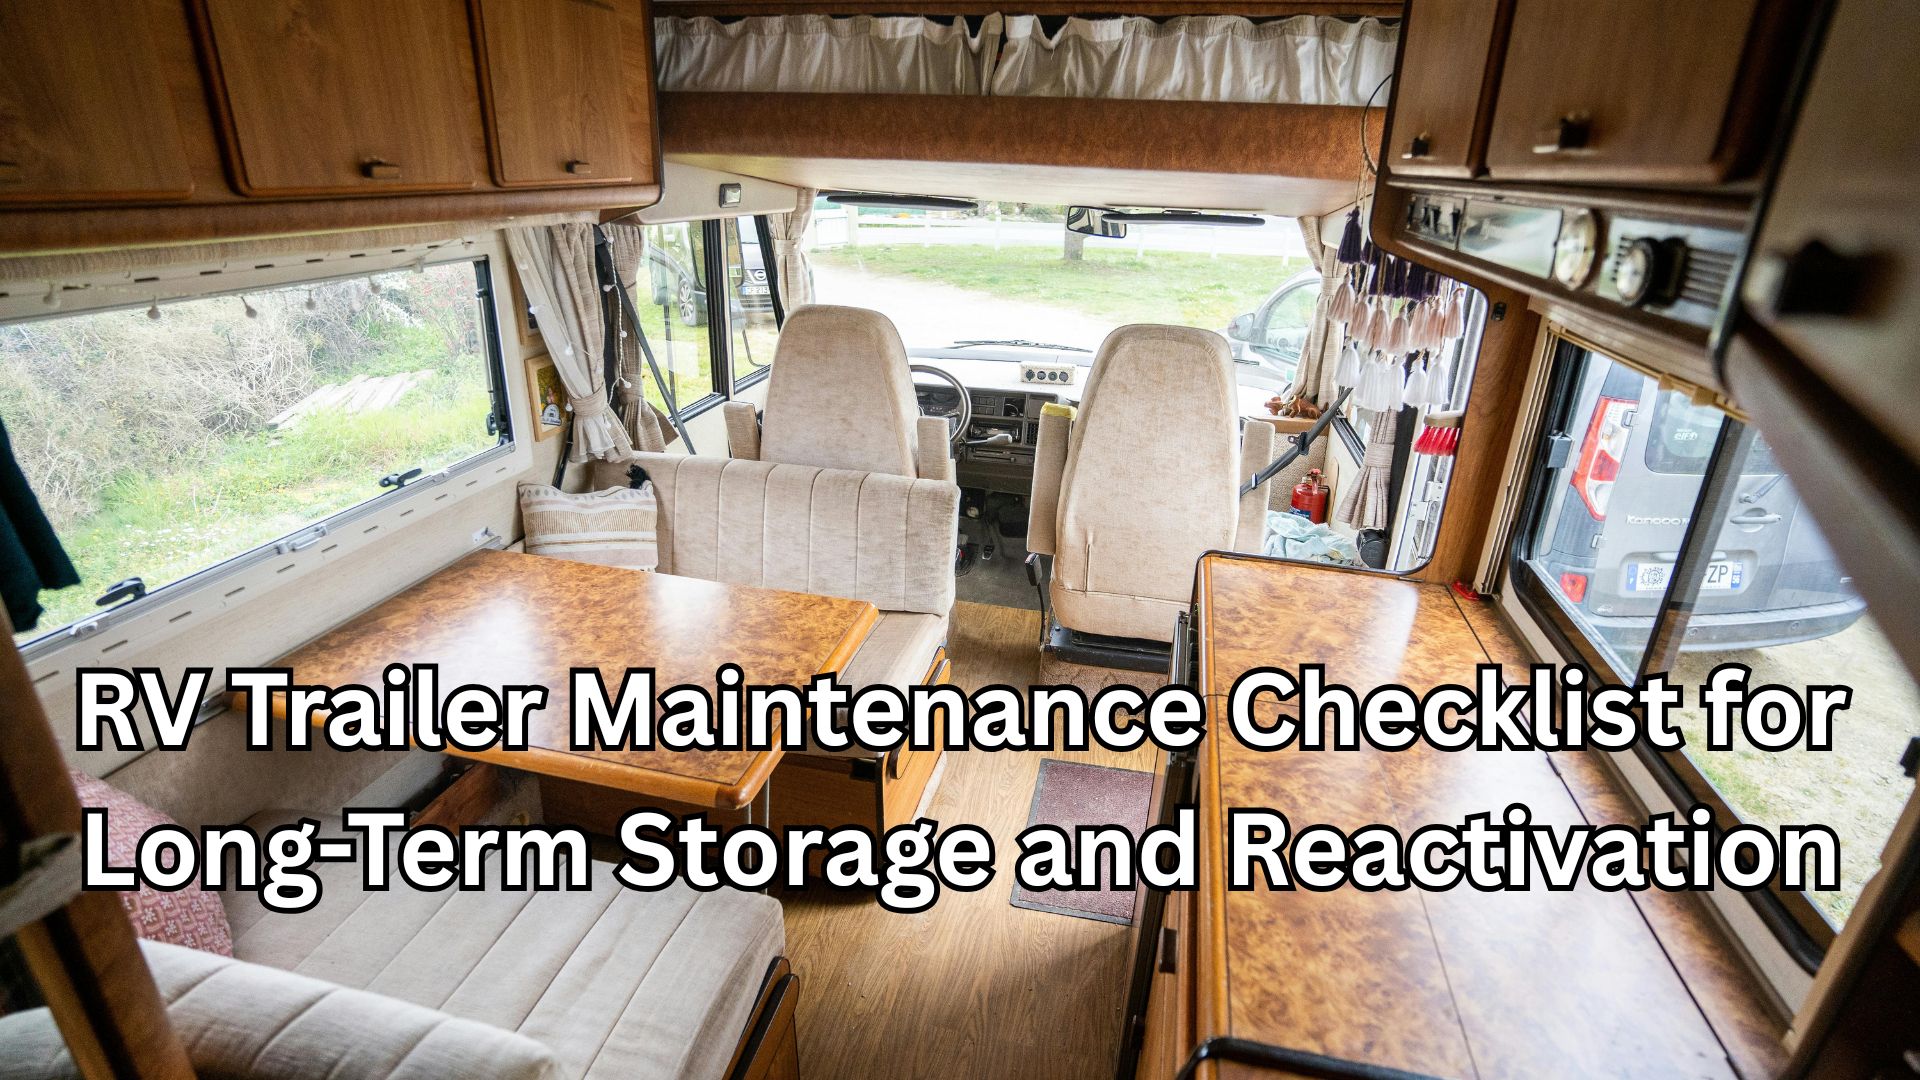
Storing a travel trailer for weeks or months can cause problems that are easy to miss until your next trip. A complete RV trailer maintenance checklist for long-term storage and reactivation helps protect tires, batteries, plumbing, seals, and interior systems so your trailer stays in great condition during downtime and is road-ready when travel season returns.
In this guide, you will learn exactly what to do before putting your RV trailer into storage and what to inspect when bringing it back into use. Following these steps can prevent expensive repairs, reduce breakdown risk, and extend the life of your trailer.
Why Long-Term Storage Maintenance Matters for RV Trailers
Travel trailers are built to move. When they sit unused, components dry out, moisture builds up, pests find entry points, and corrosion can start. Even if the trailer looks fine from the outside, storage-related damage can happen slowly and quietly.
A storage checklist prevents missed steps like draining water lines, disconnecting batteries, and checking roof sealant. It also saves time during reactivation because you already know what was done before storage. In most cases, preventive storage maintenance costs far less than repairs caused by neglect.
RV Trailer Maintenance Checklist for Long-Term Storage
1. Clean the RV Trailer Inside and Out
Cleaning is the first and most important step before storage. Exterior grime, bird droppings, tree sap, and road salt can stain surfaces and damage protective coatings when left for months. A full wash also makes it easier to inspect for cracks, worn sealant, and early damage.
Inside the trailer, remove anything that attracts pests or holds moisture. Clear out food, trash, and scented products, then vacuum floors and wipe down surfaces. Clean the refrigerator and leave the door cracked open to prevent mold and odors. A clean RV trailer stores better and is easier to reactivate.
2. Prevent Moisture, Mold, and Mildew During Storage
Moisture is one of the biggest threats during long-term RV trailer storage. Humidity trapped inside can cause mildew odors, mold growth, and damage to upholstery, flooring, and cabinets. Even in dry climates, condensation can build up due to temperature swings.
Before storage, ensure the trailer is completely dry. Place moisture absorbers in key areas such as the bathroom, kitchen, and sleeping space. Leave cabinet doors slightly open to improve airflow and reduce trapped humidity. Also check roof vents, windows, and door seals for gaps that could allow water intrusion.
3. Inspect the Roof and Reseal Exterior Seams
Water damage is one of the most expensive RV trailer problems. Roof seams, caulking, and sealant can crack from sun exposure and temperature changes. A small opening can allow water to enter and damage insulation, framing, and interior walls.
Inspect the roof seams, edges, vents, skylights, and any roof-mounted attachments. Check window seals, door frames, exterior corners, and slide-out seals if your trailer has them. Look for brittle sealant, gaps, or peeling areas. Resealing now is a low-cost preventive step that can protect your trailer for months.
4. Tire Care for Long-Term RV Trailer Storage
Tires carry weight constantly while a trailer is parked. Over time, this can lead to flat spots, uneven wear, and cracking. UV exposure can also speed up dry rot, especially if the trailer is stored outdoors.
Inflate tires to the manufacturer's recommended PSI and inspect for cracks or bulges. Use tire covers to block UV rays and avoid parking directly on dirt or grass, which can trap moisture. If possible, move the trailer slightly every few weeks to shift the weight. Proper tire care improves safety and reduces blowout risk when towing again.
5. Battery Storage Tips for Travel Trailers
Dead batteries are one of the most common problems RV owners face after storage. Batteries naturally discharge over time, and if the voltage drops too low, permanent damage can occur. This can also lead to electrical issues when reactivating the trailer.
Fully charge the battery before storage and clean the terminals to remove corrosion. Disconnect the battery or use a battery disconnect switch to prevent parasitic drain. If power is available, use a trickle charger or battery maintainer to keep the battery healthy. Proper battery storage makes reactivation smoother and avoids replacement costs.
6. Winterize the Plumbing System and Protect Water Lines
Plumbing protection is critical during long-term storage, especially in freezing climates. Water left in lines can freeze, expand, and crack pipes, fittings, valves, and the water heater. Even in warm climates, stagnant water can create odors and bacterial buildup.
If freezing temperatures are possible, drain the freshwater tank, drain the water lines, and drain the water heater. Bypass the water heater if recommended and add RV antifreeze to the lines and traps. In warm climates, draining tanks and flushing the system is still a good idea. Proper plumbing preparation reminds owners that storage is not just parking, it is protection.
7. Propane System Shutdown and Appliance Prep
Before storage, propane systems should be secured for safety. Leaving propane on during long-term storage increases risk and can create issues if a leak develops. Appliances should also be cleaned to prevent pests.
Turn off propane tanks completely and inspect hoses for cracking or wear. Clean cooking surfaces to remove grease or residue. Empty the refrigerator, wipe it down, and leave the door slightly open. These steps reduce odor problems and discourage pests from entering the trailer.
8. Pest Prevention Checklist for RV Trailer Storage
Rodents and insects can cause serious RV damage during storage. Rodents chew wiring, insulation, and soft materials, creating expensive repairs and potential safety hazards. Pest issues can spread quickly if not addressed early.
Seal access points around plumbing and wiring holes. Use vent covers or pest screens and ensure storage doors close tightly. Remove paper products and anything that can be used for nesting. Consider deterrents or traps if storing in rural areas. Checking periodically during storage helps catch pest activity before it becomes serious.
9. Choose the Best Storage Setup for Your Trailer
Storage conditions have a direct impact on RV trailer lifespan. Covered or secured storage reduces exposure to sun, storms, and debris, which helps protect tires, seals, and exterior finishes from long-term weather stress. Choosing the right storage setup can also reduce pest risks and limit unauthorized access during extended downtime.
If you are looking for a secure storage option in Alabama, AZ Storage offers self storage solutions that can support RV and trailer owners between trips. For RV owners near Birmingham, self storage in Birmingham, AL provides a convenient local option for keeping your trailer protected and accessible when you are ready to travel again.
Look for storage locations with gated access, good lighting, and enough space to maneuver safely. A clean storage surface reduces moisture exposure and helps protect tires, while covered storage can limit UV fading and temperature stress. A well-chosen storage facility makes long-term trailer care easier and helps prevent avoidable repairs.
RV Trailer Reactivation Checklist (Getting Ready to Tow Again)
Reactivation is just as important as storage prep. Before towing, take time to inspect critical systems and confirm everything works properly. This reduces breakdown risk and helps ensure safe travel.
1. Exterior Walkaround Inspection Before Travel
Start with a full exterior inspection. Look closely at roof edges, seams, vents, and corners. Check for storm damage, debris buildup, loose trim, and signs of water intrusion.
Inspect for pest activity such as droppings, nests, or chewed seals. Look for cracked sealant or damaged weather stripping. Catching these issues early prevents bigger problems once you are on the road.
2. Tire and Wheel Safety Check Before Towing
Tire condition is critical for safe towing. Even if tires looked fine before storage, pressure loss and cracking can occur during downtime. Underinflated tires increase heat buildup and blowout risk.
Check tire pressure and inflate to the correct PSI. Inspect for cracks, bulges, and dry rot. Verify lug nuts are secure and inspect the spare tire. If tires show significant aging or structural issues, replace them before towing.
3. Hitch, Coupler, and Safety Equipment Inspection
Towing safety depends on the hitch system. Inspect the coupler and ensure it locks securely onto the hitch ball. Check safety chains for wear and proper attachment points.
Test the breakaway cable and inspect the trailer jack for smooth operation. Confirm stabilizers are secure and functional. These steps reduce towing risk and prevent dangerous disconnect issues.
4. Electrical Wiring and Trailer Light Testing
Electrical issues are common after storage due to corrosion or pest damage. Before travel, connect the trailer to your tow vehicle and test all lights.
Confirm:
- Running lights
- Brake lights
- Turn signals
- Hazard lights
If the trailer has electric brakes, test the brake controller connection. Fixing electrical issues before travel is safer than troubleshooting on the road.
5. Reconnect Battery and Test Power Systems
Reconnect the battery and test the power systems. Confirm battery voltage, inspect terminals for corrosion, and test interior lights. If shore power is available, test outlets and confirm the converter is charging properly.
If the battery drains quickly or does not hold a charge, replacement may be needed. Reliable power is essential for comfortable camping and safe operation.
6. Plumbing System Reactivation and Leak Testing
If your trailer was winterized, flush the system thoroughly. Remove RV antifreeze from the lines and refill the freshwater system. Reconnect the water heater if it was bypassed and refill it fully before turning it on.
Run water through each faucet and inspect fittings for leaks. Check toilet seals, water pump operation, and exterior hookups. Sanitizing the freshwater system is also recommended after long storage.
7. Appliance and Safety System Testing
Before traveling, test safety detectors and appliances. Replace batteries in smoke detectors, carbon monoxide detectors, and propane leak detectors. These devices are often forgotten during reactivation and are essential for safety.
Test propane appliances, such as the stove and refrigerator ignition. Run the furnace and air conditioner briefly to confirm performance. A complete system test ensures your trailer is ready for travel and reduces campsite troubleshooting.
Store Your Trailer the Right Way, So It Is Ready When You Are
Long-term storage does not have to lead to dead batteries, cracked tires, plumbing leaks, or last-minute towing issues. The difference comes down to preparation. If you follow this RV trailer maintenance checklist before storage and complete the reactivation steps before your next trip, you will prevent many of the most common storage-related problems.
Before walking away from your trailer, take a final walkthrough and confirm the most important items are handled. Make sure the trailer is clean, moisture is controlled, tires are protected, the battery is properly maintained, and the plumbing system is prepared for your climate. These small actions may feel like extra work now, but they can save you time, money, and stress when it is time to travel again.
When the next season arrives, do not rush the reactivation process. A careful inspection, safety check, and system test will help ensure your trailer is road-ready and safe to tow. Taking action now makes the next trip smoother, safer, and far more enjoyable.
Categories